Overview
Have you ever wished you could customize certain keys to personalize for your own use cases? If your mechanical keyboard is compatible with VIA software stick around to learn how to use VIA to change keys, add layers, create custom macros, customize RGB, and more!
What is VIA?
VIA, stands for Viable Interrupt Alternative, is a feature that allows users to change their mechanical keyboard's keymap without having to reflash the firmware.
VIA is an open-source tool that lets users personalize their mechanical keyboards. It's built to work with a wide range of keyboard models and simplifies tasks like remapping keys, setting up custom lighting effects, and programming macros.
Whether you're new to keyboard customization or an experienced user, VIA makes it straightforward to design complex setups. It offers full support for keymap and layer configurations on any keyboard that’s compatible with VIA.
One of the standout aspects of VIA is how user friendly all while being super powerful. You can change what individual keys do, create custom lighting patterns, and build multiple layers tailored to different activities, like one for gaming with macros or another for work with productivity shortcuts. These customizations can be managed by importing a JSON file, giving you full control over everything from function key behaviors to advanced layer switching.
Is My Mechanical Keyboard Compatible with VIA?
Before trying to use VIA, check if your mechanical keyboard is compatible with VIA. If you bought a prebuilt keyboard, you can check the keyboard specs to see if it is VIA compatible or if it uses its own proprietary software. If you are unsure, you can always check on the VIA website to confirm their supported keyboards: Supported Keyboards | VIA.
How to access VIA?
To get started, head to their online app at VIA.
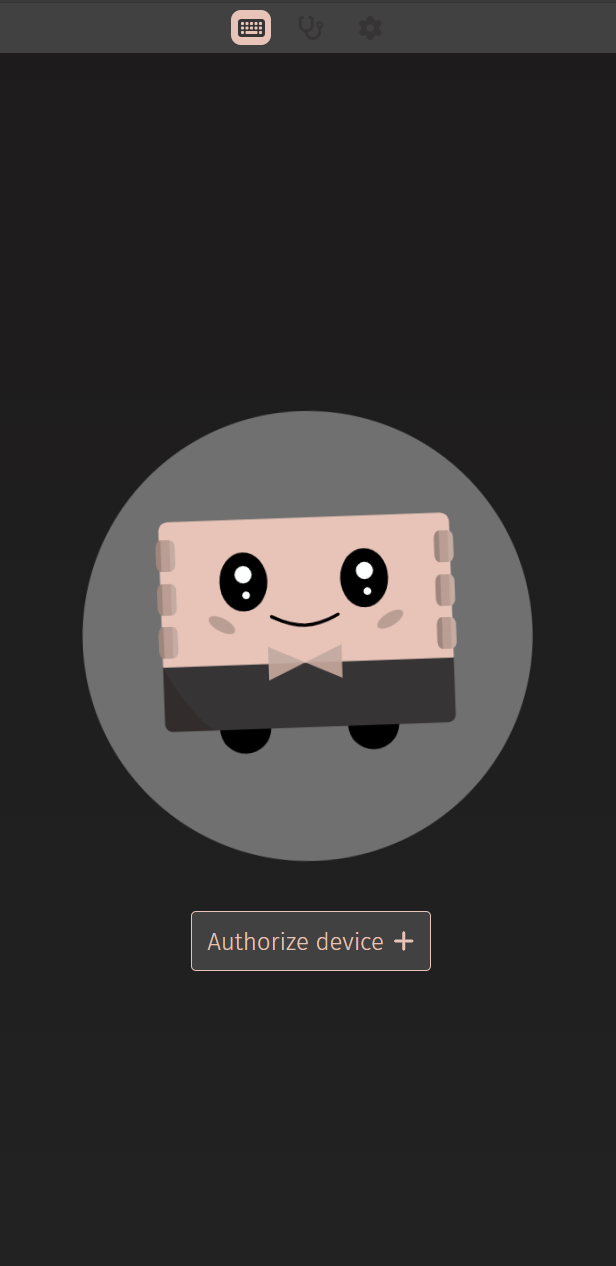
It should look like this:

Click the button "Authorize device +" and there should be a popup that shows a list of your connected keyboards for you to choose to connect to VIA that looks like this:

Choose your keyboard and click "Connect" and then your keyboard should be connected to VIA. You should see the VIA interface with a layout of your current keyboard similar to this:

NOTE: Most of the time VIA should already have the files on your keyboard, but in rare cases you would need to upload the JSON file.
You'll also notice at the top there are three options for tabs/pages for you to access: "Configure", "Key Tester", and "Settings".
The "Configure" page is where you'll be spending most of your time. There you will be able to customize keys, layers, macros, lighting (if applicable), and save and load files.
The "Key Tester" page is available to use to test and confirm that the changes you made to the keymap are correct and working properly. After pressing a key it should become highlighted like the QWERTY keys below.

NOTE: For some keys, like keys assigned for changing layers or keys assigned to macros, they will not show up while testing your keys. You can change to "Test Matrix" to check if the physical locations of the keys are working.
Test Matrix:

How to Configure and Remap Keys?
Configuring your basic keys are fairly straightforward. Click and select the key you want to edit and it should become highlighted like the "Q"

After selecting your desired key, choose from seven categories for different keys you can assign: Basic, Lighting, Media, Macro, Layers, Special, and Other.
Basic will have all of the essential keys like the alpha keys, number keys, and navigation keys:

Lighting will have keys needed for adjusting any LED or RGB lights if you keyboard has them:

Media will have keys for adjusting basic media sound controls:

Macro will have a list of macro names that you can assign to a key. These macros will be the ones that you have created macros for in the macro tab (we will cover creating macros below):

Layers will be for the keys to access the different layers on your keyboard. Usually MO(#) is the most frequently used one to be able to quickly access another layer by holding down the key assigned with MO(#) and then pressing down another key:

Special will be for keys like symbols or other atypical navigation keys:

Other is for all other keys not mentioned above:

This will be the bulk of the functionality you use for changing your keymap.
Once you have gone through and customized your keymap, VIA should automatically save the new keys, but for a sanity check it is always good to confirm the keymap by going to the "Key Tester" tab and checking the input of each key.
How to Create Macros?

In the "Macro" tab you can create your own custom macros one of two ways: keycode entry, or macro recorder. Macro recorder allows you to register a macro by recording your keypresses. Keycode entry allows you to register a macro by typing the QMK keycodes or suggestions will dropdown within curly brackets {}. Once you have created your macros, you can assign them to a key.
How to Configure and Access Different Layers?
By default, your keyboard should be set to layer 0, with options for more layers depending on the keyboard. The layer you are currently on will be highlighted on the top left corner where it says "LAYER" like the "0".

Here are some of the main methods to accessing or turning on and turning off layers in your mechanical keyboard:
- FN
- FN (toggle function) and MO essentially have the same functionality. Having a spacebar with FN capabilities when held down makes it more ergonomic to access layers.
- MO(Layer #)
- MO (momentary layer) is the most commonly used layer function and essentially does the same thing as a FN key. By holding down a key assigned with MO, it will temporarily give you access to the layer associated with it. For example MO(1) will give you access to layer 1.
- TG(Layer #)
- TG (toggle layer) toggles a layer on and off.
- TT(Layer #)
- TT (toggle and momentary layer) is kind of like a combination of MO and TG by activating a layer once TT has been pressed. However, it deactivates the layer once the key you are accessing has been pressed.
- OSL(Layer #)
- OSL (one shot layer) temporarily activates the indicated layer until the next key is pressed. This is useful if you don't want to have to hold down a key to access a layer and return to the previous layer.
- TO(Layer #)
- TO permanently switches to a specified layer, so you will need to assign another key in the layer you switched to, to move back to the previous layer or another layer.
- DF(Layer #)
- DF is used to turn on and off your base layer.
Conclusion
And there you go! When you are done customizing the keymap for your own mechanical keyboard, VIA will automatically save the new keymap. VIA makes it easy and hassle free to further customize your keyboard to your personalized typing.
Let us know if you have any questions and stick around for more advanced tips and tricks with VIA!
Other Readings
Top 10 Mechanical Keyboard Switches You Need to Know About in 2024
Top Mechanical Keyboard Layouts: Which One is Right for You?
How to Build Your First Mechanical Keyboards: A Step-by-Step Guide
How to Mod Your Mechanical Keyboard for Better Sound and Feel
Ultimate HMX Switch Showdown: Sound Test & Switch Review
Best Creamy Tactile Switches 2025
Plate Material, Does It Make a Difference?
Share:
Best Budget Tactile Switches 2025
HMX SU Purple R2 Linear Switch Review